
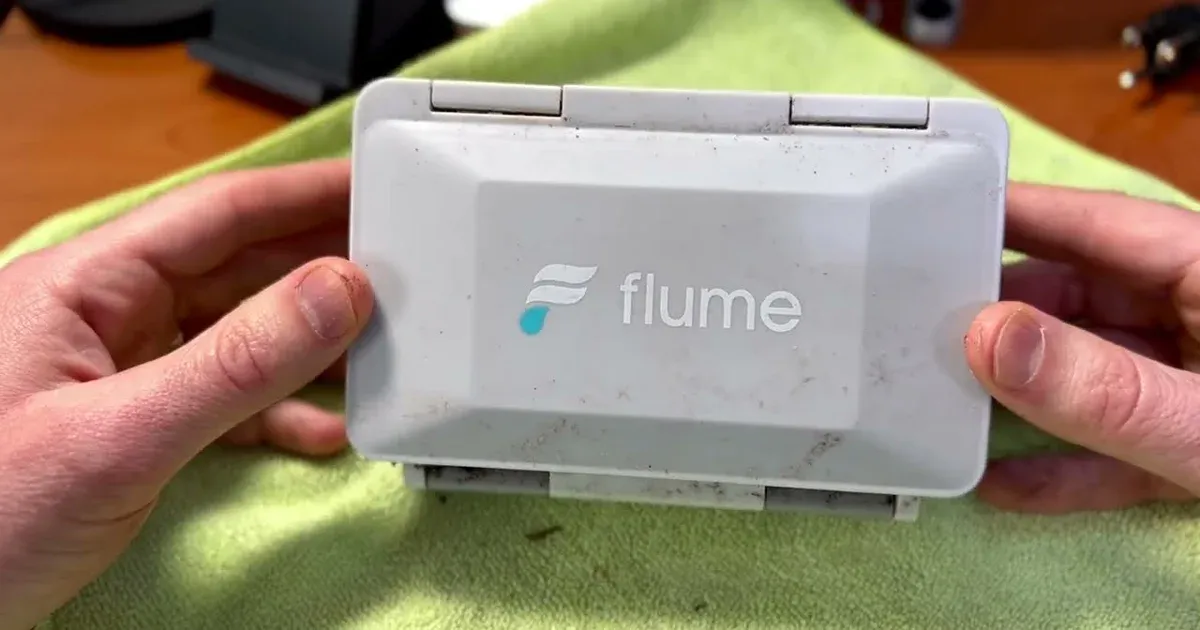
How to Replace the Flume 2 Battery (Step-by-Step with Video)
Flume water monitor battery replacement, step by step with video: remove the sensor, swap the battery pack, reseal it, and recalibrate in the Flume app.
Replacing the battery in a Flume 2 water monitor comes down to five things: take the sensor off your water meter, swap the battery pack, seal it back up, reattach it, and recalibrate in the app. Don't skip the last step, because Flume won't report your water usage until it's recalibrated.
I've used a Flume to monitor my house's water usage since 2021. Here's the video of my battery replacement, followed by the written steps:
How to Tell the Flume Battery Is Low
The Flume app shows a banner at the top saying your water sensor batteries are low, with a link to fix it. That link takes you to Flume's help article on low batteries, which includes a link to buy replacement packs directly from Flume.
When I made this video, my first battery pack had lasted about 10 months. That was on my original sensor, which had early battery failures that Flume support later attributed to corrosion. The newer revision of the Flume 2 I switched to has had much longer battery life. According to Flume, batteries should last at least six months, and if yours die sooner than that, Flume asks you to contact their support team.
What You Need
- A Flume battery pack. The Flume 2 uses Flume's own battery pack, not standard batteries. Buy it from Flume through the link in the app. It cost me about $19 and arrived in about a week. Flume warns not to use non-approved battery packs, which voids the warranty and performance guarantee, so skip the third-party packs on marketplace sites.
- A towel or rag to clean the sensor before opening it.
- Your phone to take a photo before removing the sensor and to recalibrate afterward.
Step-by-Step: Replacing the Flume 2 Battery
1. Photograph the sensor on the water meter
Before you remove anything, take a picture of how the sensor is attached to your water meter. You'll want to reattach it in exactly the same position. The sensor also has a sticker marking its bottom side, which helps.
2. Remove the sensor and bring it inside
Slide the sensor out of its rubber straps and off the water meter. Meter boxes are a popular home for insects (mine came with a colony of ants), so shake it off outside before bringing it in.
3. Clean the outside before opening it
Wipe the sensor clean and dry before you open the lid. Flume recommends this too: any dirt or water on the outside can fall in when the lid opens, and moisture inside the sensor is what you're trying to keep out.
4. Remove the old battery pack
Open the lid and use the ribbon attached to the battery pack to pull it out. Before you set it aside, note which way the contacts face.
5. Install the new battery pack
The pack and the sensor are marked with plus and minus signs. Line them up and press the pack in. If it's seated correctly, the status light flashes green.
According to Flume's instructions, it doesn't matter which side of the sensor the pack goes in. The sensor has room for a second pack, and I've read that installing two extends battery life, but check with Flume support before counting on that.
6. Seal the lid
Close the lid and press until the latch clicks. That click is how you know it's sealed watertight. Take a moment to make sure the seal is clean and seated, since the sensor lives in a meter box that can get wet. My original sensor eventually had battery failures that Flume support attributed to corrosion, so a good seal is worth the extra few seconds.
7. Reattach the sensor to the water meter
Using your photo as a reference, put the sensor back in the same position on the meter, with the bottom sticker facing down, and wrap the rubber straps around the meter body so it's held firmly in place.
8. Recalibrate in the Flume app
In the Flume app, open the menu (the three lines in the upper left), go to Settings, then Other Troubleshooting, and tap Recalibrate Water Sensor. The app asks you to run a steady stream of water. I ran the bathtub. When calibration succeeds, the low battery banner disappears.
Don't skip this step. Flume notes that water usage will not report until a successful calibration is completed.
Replacing Batteries in the Flume F2X
The newer Flume F2X (Flume 2X) uses two standard AA battery packs instead of the Flume 2's proprietary pack, which addresses one of the most common complaints about the Flume 2. I haven't replaced the batteries in an F2X myself. The removal, cleaning, sealing, and recalibration steps above apply in the same way, but follow Flume's battery documentation for the pack itself.
Flume also now offers a customer-replaceable black battery pack for the Flume 2, where you replace the four lithium batteries inside the pack instead of buying a new pack. Flume has a separate guide for that pack.
For my long-term experience with the Flume, including the leaks it caught and the ones it missed, see my Flume 2 water monitor review.