
How to Improve Portable AC Efficiency, Updated
Portable AC efficiency fixes ranked by cost and effort: duct insulation, the intake hose most people skip, window sealing, and when to upgrade to a mini-split.
After posting my YouTube video on improving portable AC efficiency, the comments taught me something I had missed entirely. The duct insulation technique in the video works — the FLIR data proves it — but there was a bigger efficiency problem I hadn't addressed at all. This article is the complete picture, with fixes ordered by cost and time so you can start with the easiest wins first.
Why Portable ACs Lose Efficiency: Two Problems
Before getting into fixes, it helps to understand the two ways a portable AC works against itself.
Problem 1: The Exhaust Duct Radiates Heat Back Into the Room
The unit blows cold air into your space, but the 6 to 8 foot plastic exhaust duct carrying hot air to the window radiates around 120°F back into the room the whole way there. A window-mount unit eliminates this entirely — it dumps heat directly outside with no duct running through your living space. This is what the video addressed.
Problem 2: Single Hose vs. Dual Hose
A single-hose portable AC pulls room air across the compressor and exhausts it outside. That continuous outflow creates a slight negative pressure in the room that draws warm air in through every gap it can find: under doors, around window frames, through wall penetrations. The unit is partly causing the infiltration it's fighting against.
The fix is a second hose. A dual-hose setup pulls outside air in through an intake hose to cool the compressor, then exhausts it back outside — a closed loop with no vacuum and no infiltration pull. Dual-hose units can cool a room up to 40% faster than single-hose equivalents at the same BTU rating.
My portable AC had a dual-hose port. I was only using the exhaust hose.
If your unit supports a second hose, connect it before doing anything else. It costs nothing and is the highest-impact fix available. If it supports it, but does not include the hose, it's worth purchasing before doing anything else.
Portable AC Efficiency Fixes, Ordered by Cost and Time
Fix 1: Insulate the Exhaust Duct with Foil Wrap (~$15-20, 30-60 min)
Best if you want the lowest material cost and don't mind the hands-on work.
Wrap the exhaust duct in bubble foil insulation using a spiral pattern, overlapping each pass by about half an inch, and secure it with foil tape. The foil reflects radiant heat and the air gap between the foil layers acts as insulation.
Pro tip learned the hard way: remove the duct from the unit before wrapping if you can. Wrapping in place is harder, and the plastic on older ducts can be brittle. If the duct is too fragile to remove, wrap it in place and be careful.
The FLIR camera shows what this actually does:
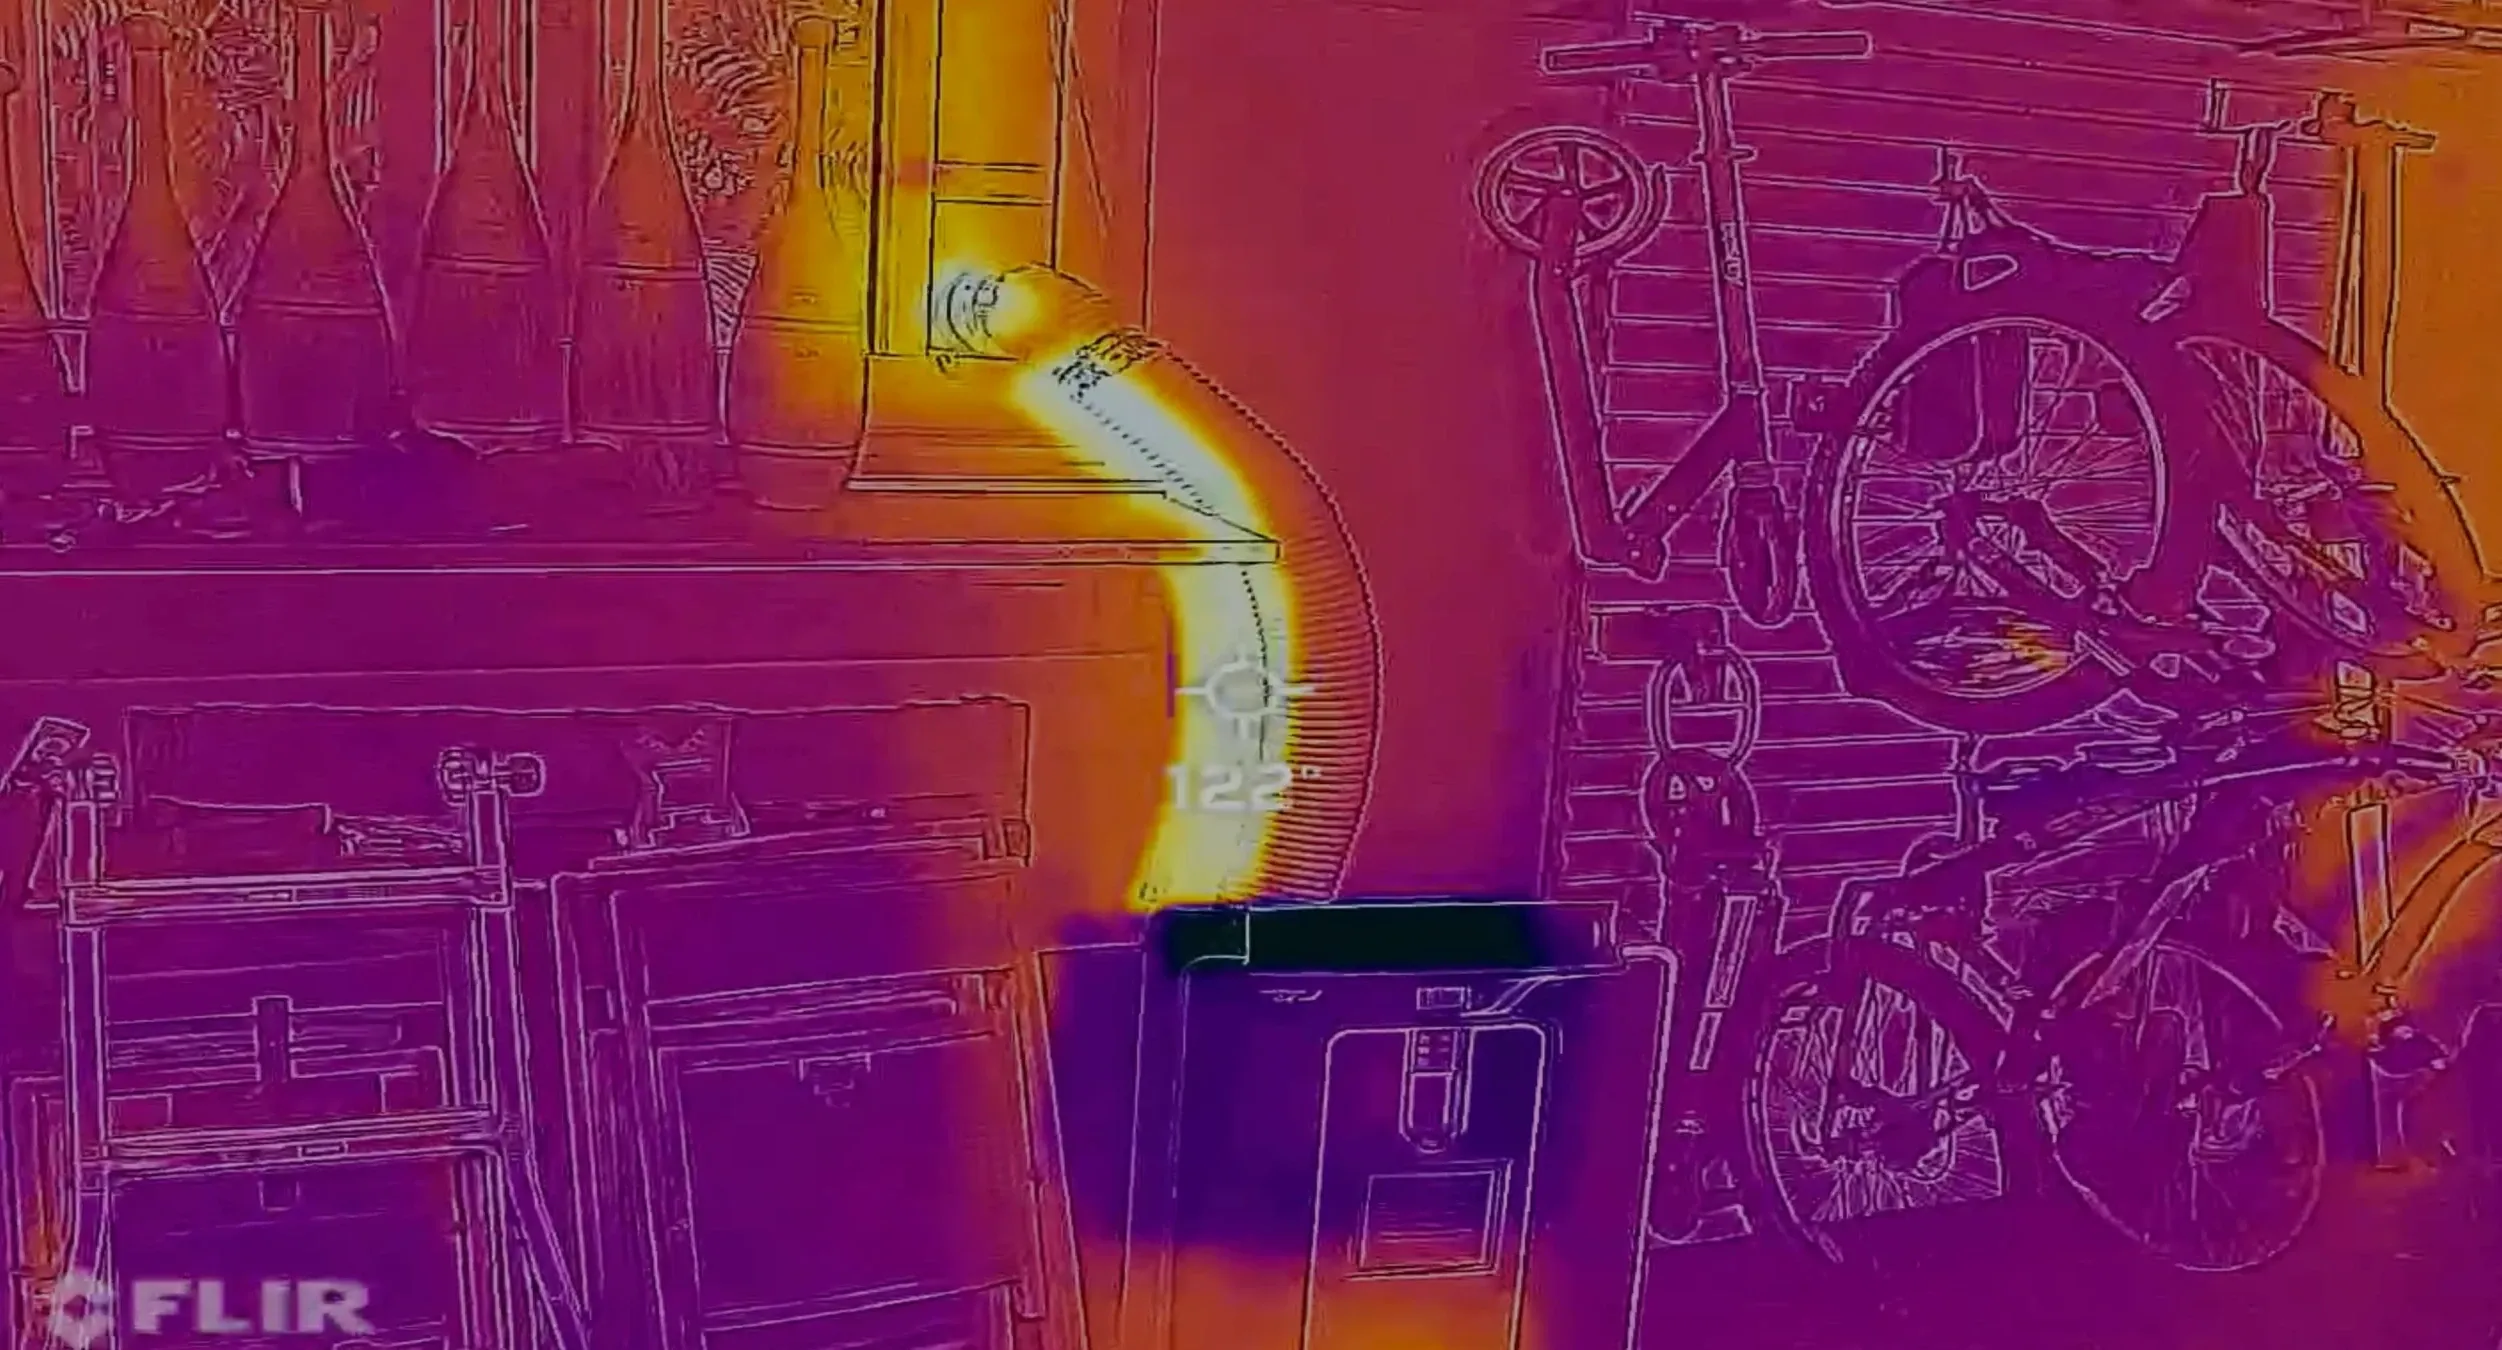
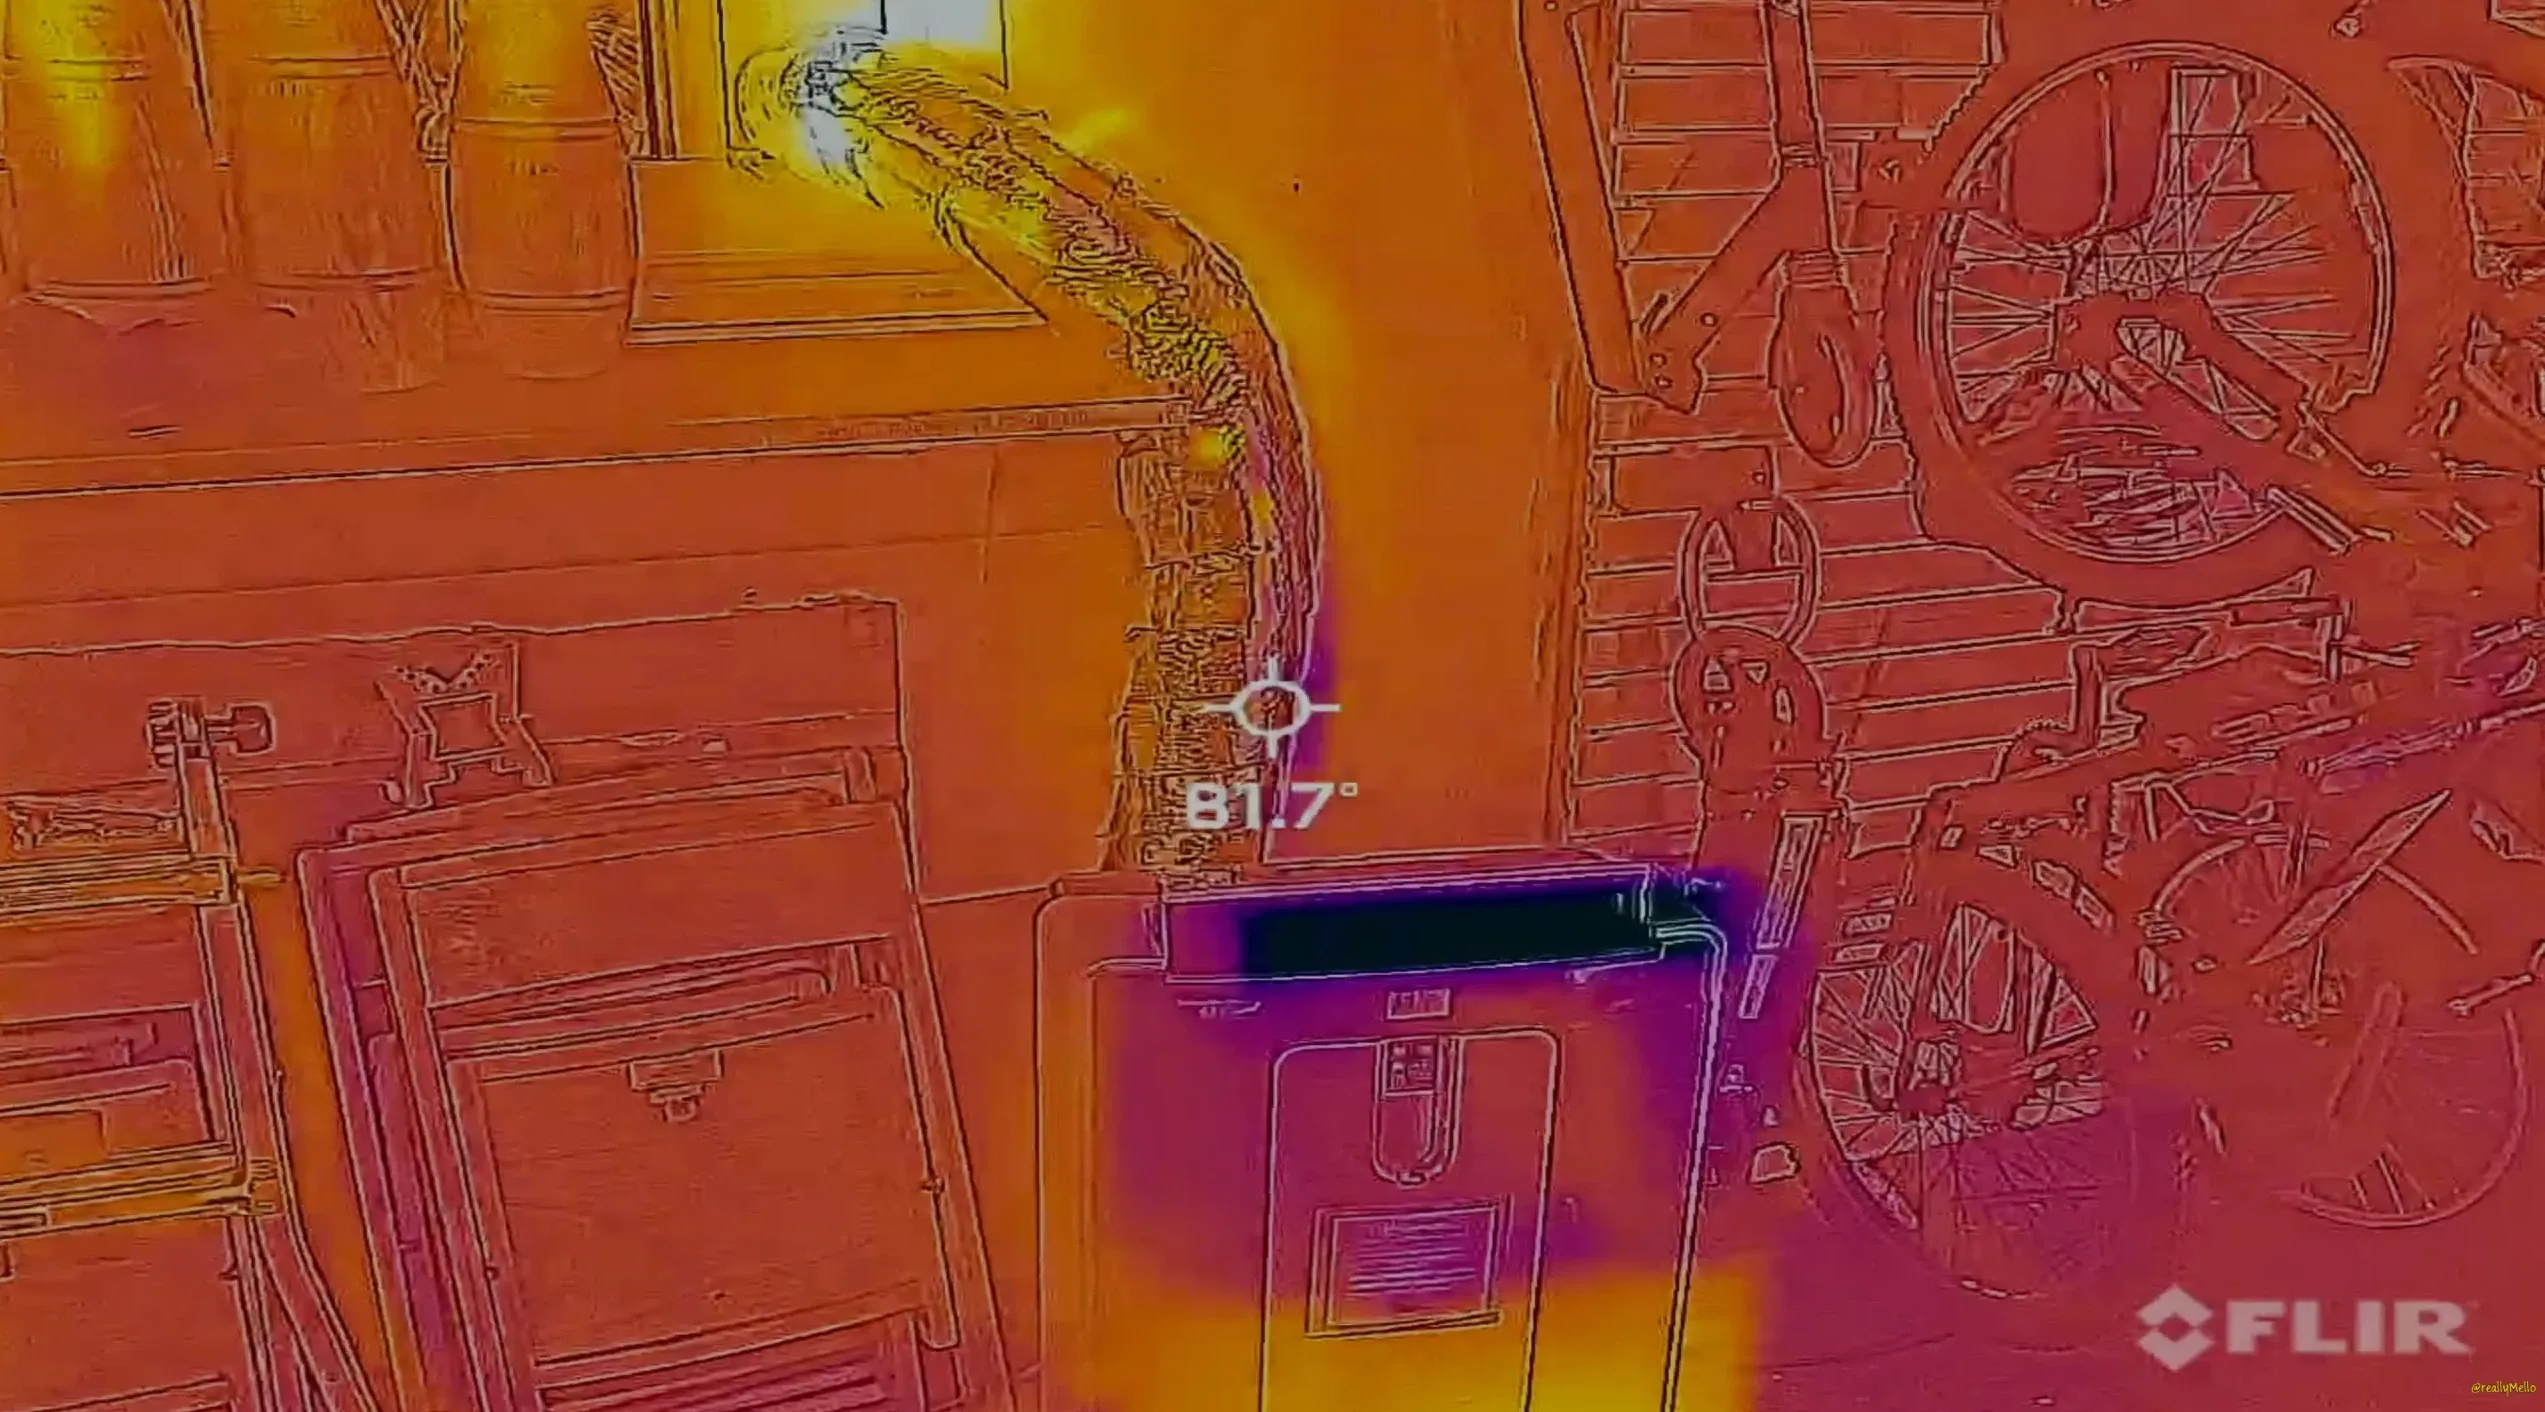
The pipe surface dropped from ~120°F to 80-82°F.
If you're running a dual-hose unit, insulating both hoses doubles this benefit.
Fix 2: Pre-Insulated Sleeve (~$30-50, 10 min)
Best if you want the fastest and cleanest result and don't mind the higher cost.
A pre-insulated sleeve slides over the existing duct without any cutting or taping. It installs in minutes and looks considerably cleaner than a DIY foil wrap. The tradeoff is roughly double the material cost.
Measure your duct diameter before ordering. Portable AC hoses vary, typically between 5" and 6". Check your unit's manual or measure the outside diameter of the duct before purchasing.
Fix 3: Shorten the Hose and Reduce Bends (Free, 5 min)
Move the unit as close to the window as possible to minimize hose length. Straighten any upward bends — every extra foot of hose is more surface area radiating heat into the room, and every bend adds airflow resistance the compressor has to work against.
Ideally the hoses exit at a straight horizontal angle. Raising the unit on a platform can help if your window sits higher than the hose port.
Fix 4: Seal the Window Gap (~$5-10, 15 min)
The window kit where the hose exits is another infiltration point that's easy to overlook. Foam tape or weatherstripping around the panel edges seals the gap and stops warm outside air from bypassing all your other fixes. Small effort, adds up.
Fix 5: Insulate the Garage Door or Walls (Cost Varies, Half Day+)
If you're cooling a garage or shed, an uninsulated garage door can undo a significant portion of the gains from the fixes above. I covered the full process and materials in my garage door insulation guide — the difference was substantial.
Two kit options depending on your door type: style 1 and style 2.
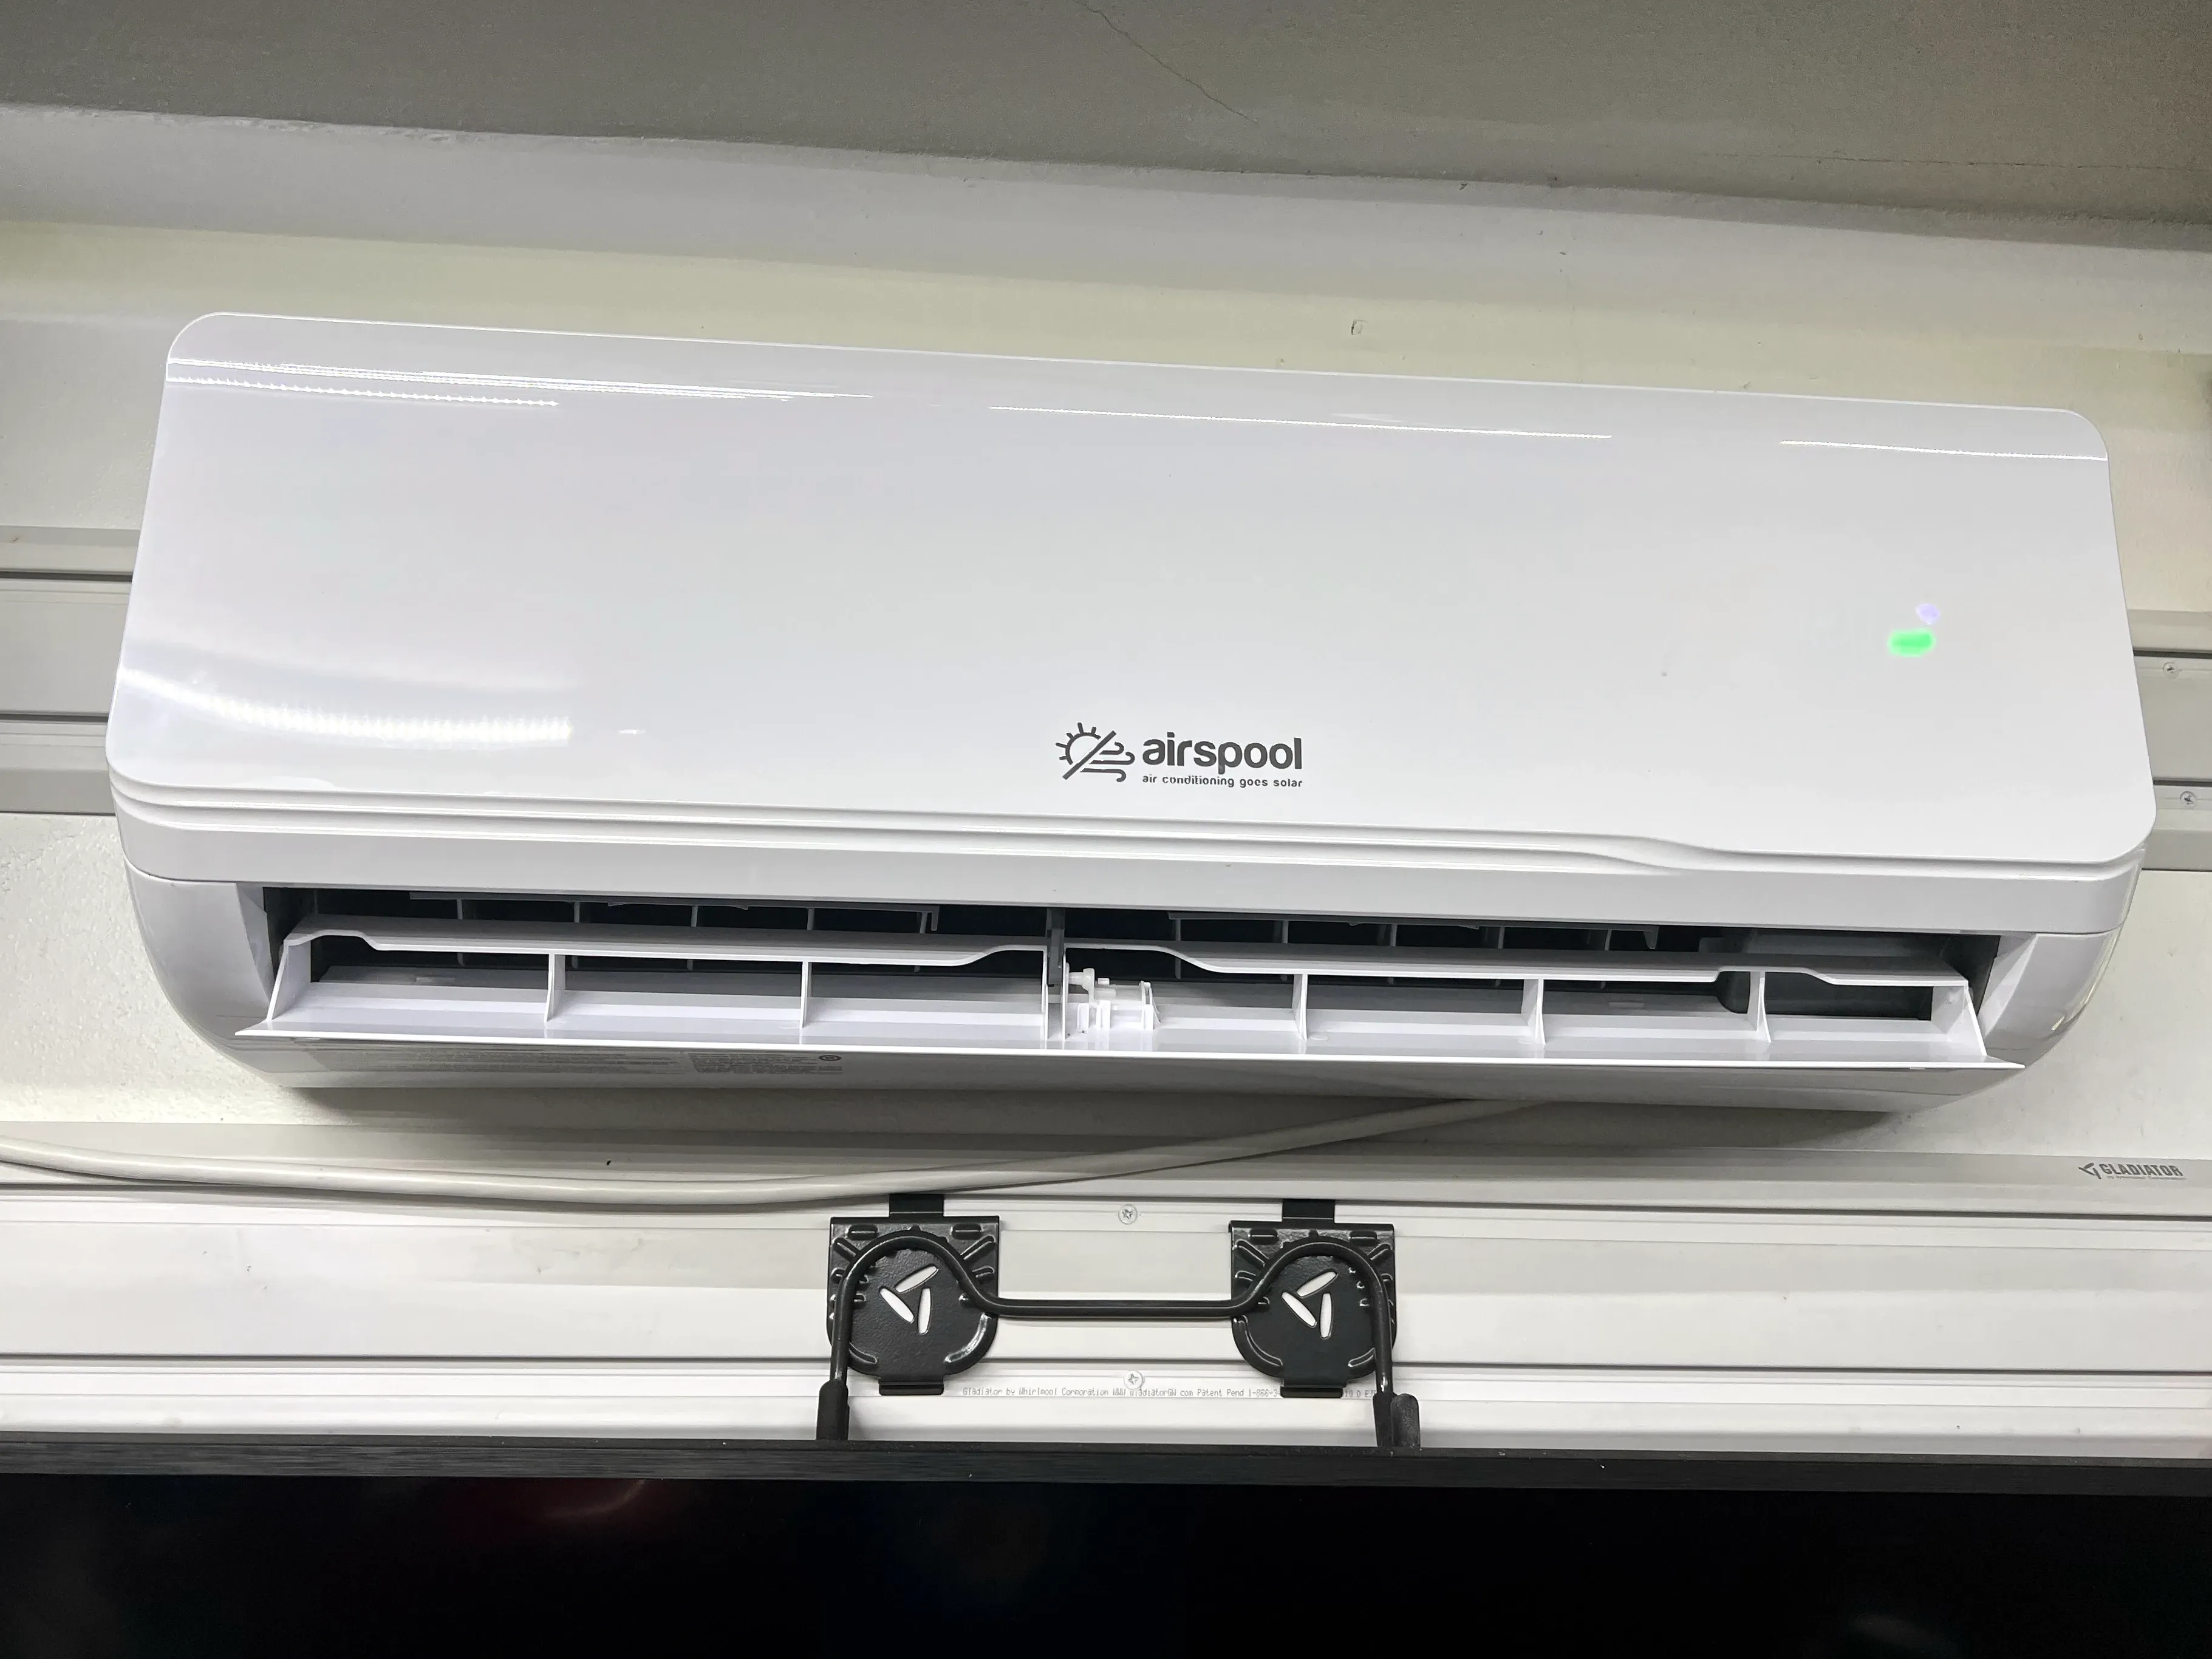
When It Makes Sense to Upgrade to a Mini-Split
After working through the fixes above I eventually replaced the portable unit entirely with a solar-powered mini-split, but even a non-solar pre-charged mini-split would provide efficiency gains over a portable unit. The comparison was not even close:
- Noise: the portable AC was extremely loud; the mini-split runs nearly silently
- Power: 500W less electricity (~1,000w max vs 1,500w)
- Cooling: noticeably more effective
These new pre-charged options make mini-splits much more accessible as a DiY project than previous versions which required special HVAC installation tools.
The fixes in the article are real improvements — the FLIR data shows that clearly — but a portable unit with a long plastic hose running through your space has a ceiling on how efficient it can get. If you're cooling the same space regularly through a full summer, the upgrade math eventually makes sense.