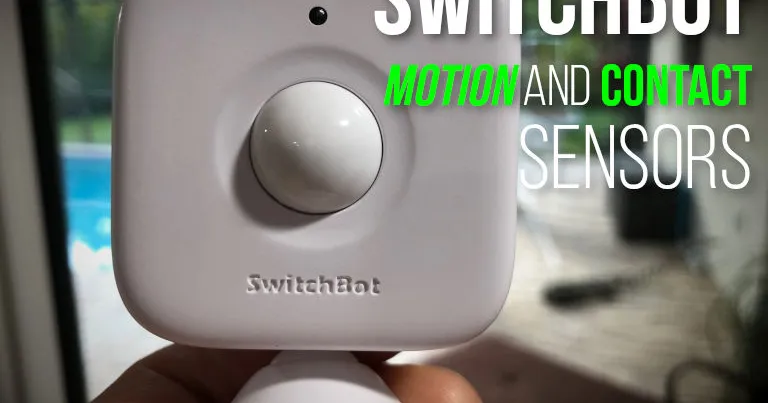
Reviewing SwitchBot door contact and motion sensor home automation
In this review I'll use SwitchBot door contact and motion sensors to setup smart home automation routines using Amazon Alexa and the SwitchBot app to turn on lights when I open the door or shut lights off when occupancy isn't detected in the room.
SwitchBot added unique door contact and motion sensors to their smart home lineup and this article will go over how to use them to create smart home routines to control lights based on your doors opening or sensing room occupancy or the lack thereof.
These sensors are unique because the door contact sensor, for example, includes a motion sensor and ambient light sensor in addition to the standard contact sensor.
This gives the contact sensor the ability to create more intelligent routines based on secondary criteria based on ambient light or if the room is occupied.
I'm excited for the stand alone motion sensor because I can put them in bedrooms and have it work with my TP-Link Kasa light switches (or other smart switches) to shut the lights off when people forget to using Alexa routines.
In the remainder of this article I'll go over the features of the SwitchBot door contact and motion sensors and how I set them up and installed them using Amazon Alexa and the SwitchBot app.
If you prefer to see the video version of the SwitchBot review you can watch that below or continue reading.
As an Amazon Associate I earn from qualifying purchases made from links on the site which is a great way to support it if you are interested in purchasing any of the SwitchBot products mentioned.
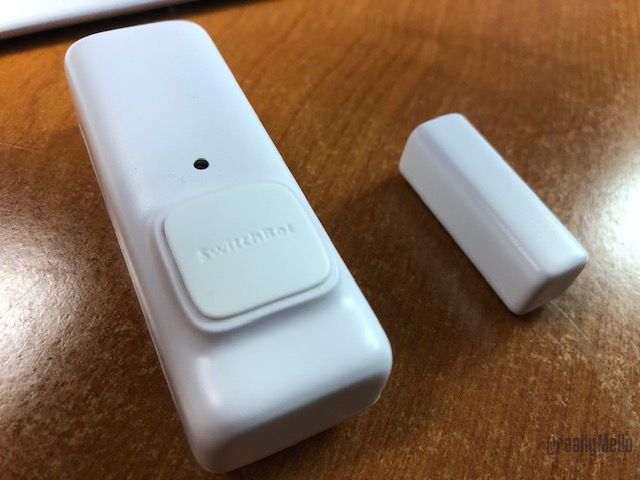
SwitchBot Contact Sensor
The SwitchBot contact sensors can mount on things like doors, drawers, and cabinets so when they are opened and closed you can trigger home automation routines.
If you are using various smart assistants like Alexa, Google Assistant, or Siri you can speak voice commands like
Hey [ Alexa, Google, Siri ] is the [ name here ] door opened?
You can also integrate it with your other SwitchBot devices like their curtain-opener, bot (button pusher), and indoor camera. You can use the contact sensor to initiate routines like closing the curtains when you leave the house or turn on a light when you open the door when entering your house.
You can go a step further and setup a smart home routine with secondary criteria like
IF the door is opened AND it's dark inside THEN turn on the light ELSE don't do anything
because the SwitchBot contact sensor includes a light sensor so it can tell how bright it is in the room you place it.
You can also help SwitchBot differentiate between a normal door open and close with leaving the house for example by using the physical button it has on the face. You can press that when you enter or leave the house to make an even more complex routine like
IF the door is opened AND the contact button is pushed AND it's dark THEN turn on the outside lights ELSE don't do anything
As far as mounting it is pretty flexible. It comes in two pieces; the sensor and contact magnet. You can stick them slightly apart on a fixed and moving surface like the door frame and door using 3m adhesive or screws.
SwitchBot Motion Sensor
I've always wanted my smart light switches to also include an occupancy or vacancy sensor, but at least in my case I found the idea is problematic because where my switches are located they don't have a good view of the room. Consequently, light switches with motion sensors fail to detect people in the room and shut the lights off on them.
The SwitchBot motion sensor allows for placement of the sensor in the room wherever it makes most sense for coverage.
So now, I can put the SwitchBot motion sensor in a bedroom corner where it can pickup motion in the entire room, and setup an Alexa routine to switch off my TP-Link Kasa light switch when no motion is detected after 5 minutes for example.

Just like the door contact sensor, the SwitchBot motion sensor includes an ambient light sensor. This allowed me to setup a routine to turn on a light in the pass through when it is dark inside while also shutting it off if it doesn't sense any motion in the room for awhile.
The motion sensor also has flexible mounting options using it's angle-adjustable magnetic pedestal base including
- Stick on something magnetic
- Place on a shelf
- Stick on a wall with adhesive
- Mount with screws
The motion sensor also has adjustments to reduce false positives from larger pets like dogs.
Installation
Both sensors use AAA batteries for power which are included. To pair the sensors, once the batteries are installed, you simply open the SwitchBot app and push the + sign in the top right to add a device then select your motion or contact sensor from the list.
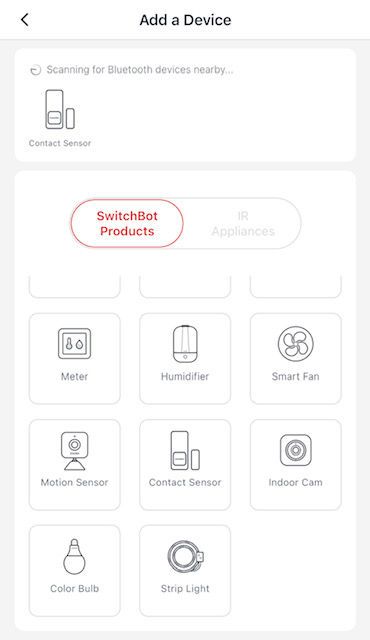
The app walks you through the rest. I highly recommend getting the SwitchBot hub to allow external access to your SwitchBot devices otherwise you are limited to bluetooth range of your phone for control.
Setting up SwitchBot Scenes
To setup automation using your sensors head into the SwitchBot app and select the Scenes tab. From there you can select your sensors and the app will present you with criteria you can trigger applicable to what the device can sense like motion or ambient room brightness.
Here I setup a scene to trigger my SwitchBot bot to click on the kitchen light switch when the SwitchBot motion sensor detects motion in the room and the light sensor detects it is dark inside the room.
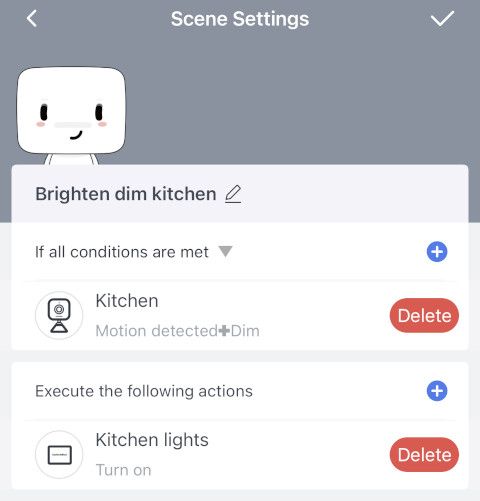
So now when someone walks into the kitchen pass-through at a dark time of the night the lights will automatically turn on for them, but if the ambient brightness of the room is bright enough it won't unnecessarily turn on the lights.
If you don't want to use their app the SwitchBot is compatible with Alexa, Google Assistant, Siri, IFTTT, SmartThings, and Clova.
When integrating routines with devices made by other manufacturers, like TP-Link for example, I found it easier to use Alexa to create the routine.
Setting up Alexa Routines
I used Alexa to setup a routine to use the SwitchBot motion sensor as a trigger for my TP-Link HS200 light switch. To setup an Alexa routine.
- Open the Alexa app
- Select More on the bottom right
- Press Routines
- Press the + icon in the upper right
- Provide a routine name
- Click the + icon next to When this happens
- Select SmartHome
- Select your SwitchBot device (motion sensor for example)
- Set when Motion is... detected/not detected
- Back at the routine screen press Add Action
- Select Smart Home > All Devices
- Select the TP-Link light switch (or whatever you want to control)
- Follow remaining prompts to save
Final Thoughts
The SwitchBot motion and contact sensors allowed the extra input criteria to create some really useful automations with their existing product line up. For example, if you were using the SwitchBot humidifier for a bedroom you could use the motion sensor to turn it off when nobody is in the room.
My favorite is the motion sensor because I can finally setup reliable vacancy-sensing routines to turn lights off around the house.
Feel free to use my social links below with any questions and thanks for reading!